봄날의 라벤더 나비
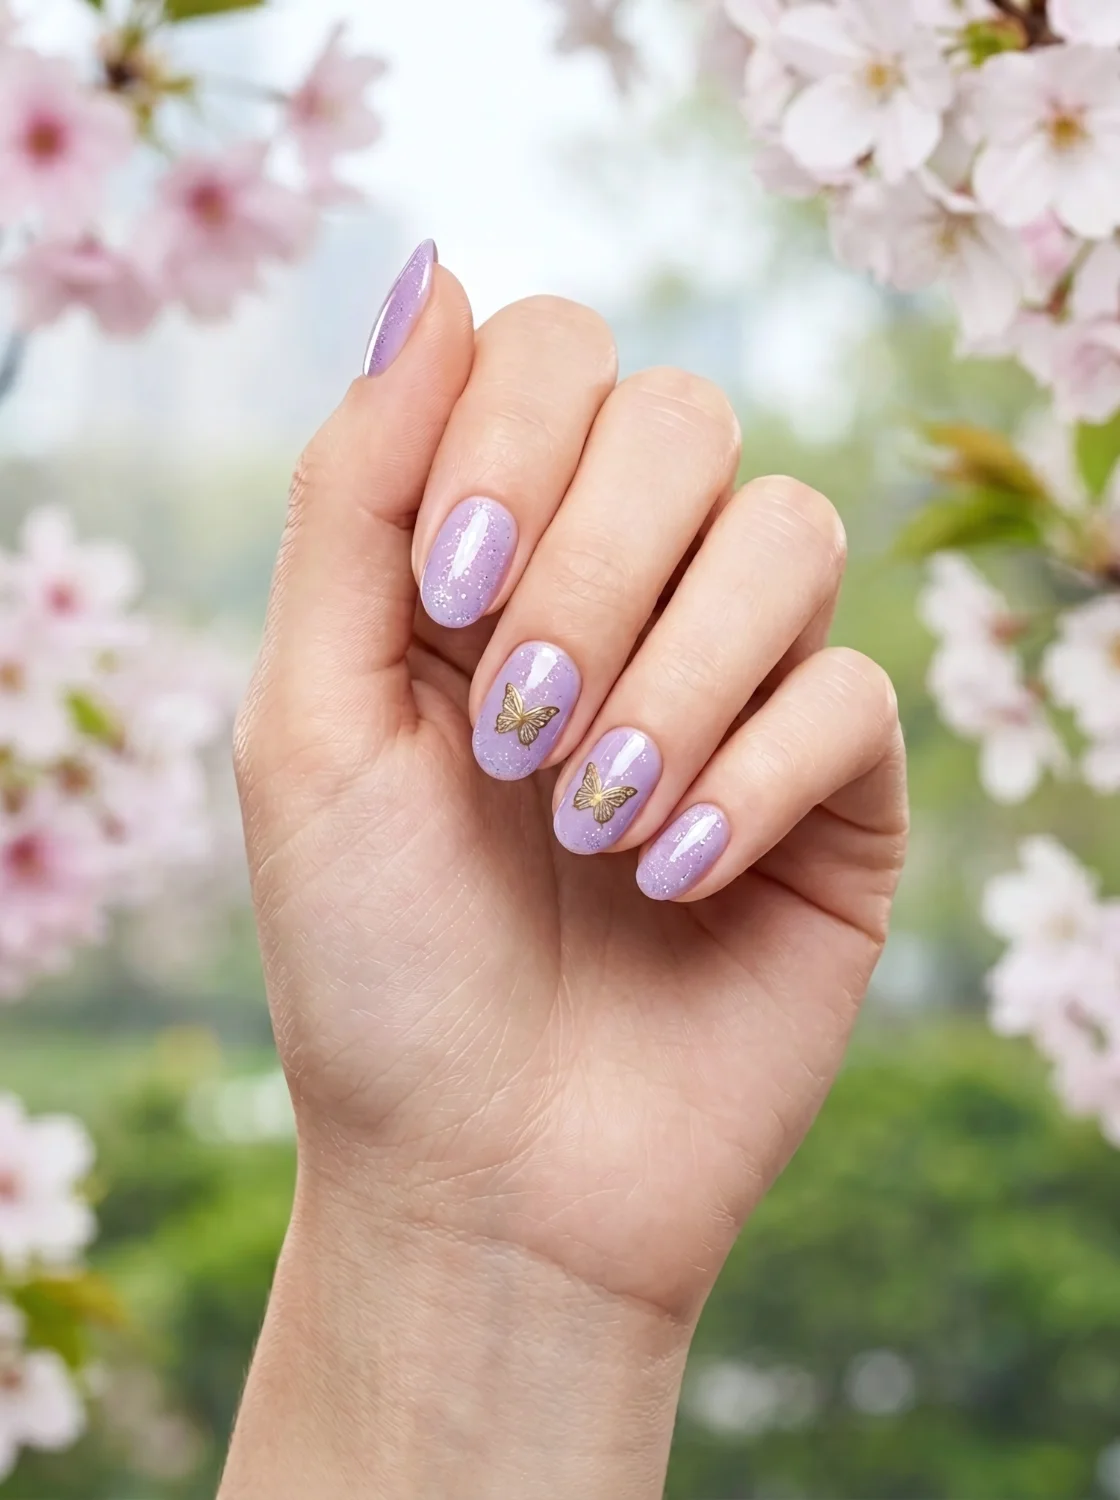
봄의 싱그러움과 트렌디함을 모두 담은 라벤더 글리터 네일이에요. 부드러운 라벤더 컬러 위에 은은한 글리터와 나비 포인트가 어우러져 마치 봄 정원을 손끝에 옮겨놓은 듯한 느낌을 준답니다. 숏 오발 쉐입으로 활동성까지 고려하여 일상에서도 부담 없이 사랑스러움을 유지할 수 있도록 설계했습니다.
A lavender glitter nail capturing both the freshness and trendiness of spring. Subtle glitter and butterfly points on a soft lavender color feel like moving a spring garden to your fingertips. Designed with a short oval shape for activity, allowing you to maintain loveliness effortlessly in daily life.
시술 가이드 (Styling Guide)
베이스
라벤더 컬러 젤을 2콧 도포한 후 미세한 실버 글리터를 얇게 뿌려 은은한 반짝임을 더합니다. 글리터가 한곳에 뭉치지 않도록 넓은 브러시로 가볍게 쓸어주는 것이 노하우입니다. 베이스 컬러가 완전히 경화된 것을 확인한 후 글리터 작업을 시작하세요.
아트
약지와 검지에 골드 나비 참을 올리고 나비의 날개 결을 따라 얇은 라인을 그려 디테일을 살립니다. 나비 파츠가 들뜨지 않도록 픽싱 젤로 테두리를 꼼꼼히 감싸주는 것이 중요합니다. 나비의 각도를 조금씩 다르게 주어 생동감을 연출하면 더욱 좋습니다.
마무리
글리터의 요철이 느껴지지 않도록 전체적으로 오버레이한 뒤 고광택 탑젤로 유리알처럼 마무리합니다. 표면이 매끄러워야 나비 포인트가 더욱 돋보이므로 클리어 젤 양 조절에 신경 쓰세요. 마지막 단계에서 프리엣지 부분의 거친 면을 파일로 가볍게 정리해 줍니다.
Base
Apply two coats of lavender color gel, then thinly sprinkle fine silver glitter for a subtle shimmer. The know-how is to sweep lightly with a wide brush so the glitter doesn't clump. Ensure the base color is fully cured before starting the glitter work.
Art
Place gold butterfly charms on the ring and index fingers, and draw thin lines along the wings for detail. It is important to meticulously wrap the edges with fixing gel so the charms don't lift. It’s better to create vitality by slightly varying the angles of the butterflies.
Finish
Overlay overall so the glitter texture isn't felt, then finish like a glass bead with high-gloss top gel. Since a smooth surface makes the butterfly points stand out more, pay attention to the amount of clear gel. In the final step, lightly tidy any rough edges on the free edge with a file.
디자인 포인트 (Design Points)
- 나비
- 라벤더글리터
- 봄네일
- 러블리포인트
- Butterfly
- Lavender Glitter
- Spring Nail
- Lovely Point